
Pedaling Towards Perfection
A Guide to Bicycle Pedal Repair
8/17/20233 min read
Before we dive into the specific steps of pedal repair, let’s start with a quick rundown of the different types of pedals you may encounter. There are two main categories: platform pedals, which are flat and don’t lock your foot in place, and clipless pedals, which use a special cleat on your shoe to attach to the pedal. Each type requires slightly different techniques and tools for repair, but we’ll cover the basics that apply to both.
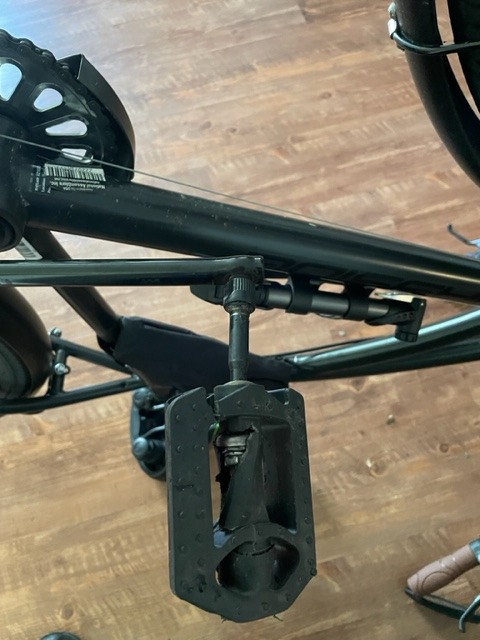
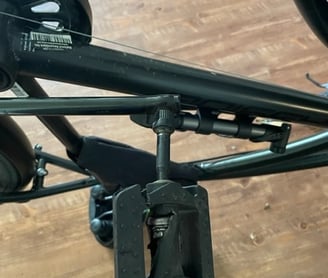
Step one in any pedal repair is to remove the pedal from the bike. To do this, you’ll need a pedal wrench – a specific kind of tool with a thin, elongated head that fits into the narrow space between the crank arm and pedal body. Loosen the pedal by turning it counterclockwise, being sure to hold the crank arm steady with your other hand. Once it’s loose, spin it off the rest of the way by hand. Voila – you’ve got a free pedal!
Next up is cleaning and greasing the threads on the crank arm and pedal body. This is important to ensure that the pedal screws smoothly into place and doesn’t get stuck or damaged. Use a rag or brush to remove any dirt or debris from the threads, then apply a light coating of bike-specific grease to both sides. Don’t use regular household grease, as it can attract dirt and cause damage over time.
If your pedals feel wobbly or loose, chances are the bearings are worn or damaged. This requires a bit more skill and knowledge to fix, as it involves disassembling the pedal and replacing the bearings. However, with the right tools and a bit of patience, it’s definitely doable. Most pedals use either loose ball bearings or cartridge bearings, which have different replacement methods. Consult your bike owner’s manual or a reputable bike repair shop for guidance on this process.
Finally, it’s important to periodically check the wear and tear on your pedals and replace them if necessary. Worn or cracked pedals can be dangerous, especially if they fail while you’re riding. Signs of wear include a loose or wobbly feeling, clicking or creaking sounds, or visible cracks or damage on the body. If you’re unsure whether your pedals need replacing, have them checked out by a professional bike mechanic to be safe.
Conclusion:
And there you have it, folks – a basic guide to bicycle pedal repair. With these tips and tricks, you’ll be able to keep your pedals running smoothly and avoid any frustrating hiccups on your rides. Of course, if you ever feel unsure or uncomfortable working on your own bike, don’t hesitate to seek out a professional. Happy pedaling!
There’s nothing quite like cruising down the road on your trusty bicycle – the wind in your hair, the sun on your face, and your feet pumping those pedals like pistons. But what happens when those pedals start acting up? Suddenly, that smooth ride turns into a clunky, grueling grind that leaves you feeling frustrated and defeated. Fear not, my pedal-pushing pals, for help is here! In this guide, we’ll take you through the ins and outs of bicycle pedal repair to keep you spinning smoothly on your merry way.

Links
I hope enjoyed and found this post informative. Please contact me and let me know what you think or any suggestions you may have. I have put links to other posts I have made.
Bicycle Repair and Maintenance -DYI Bike Repair
5 Easy Tips to Keep Your Bike in Top Shape at Home
The Essential Tools All Bicyclists Should Have